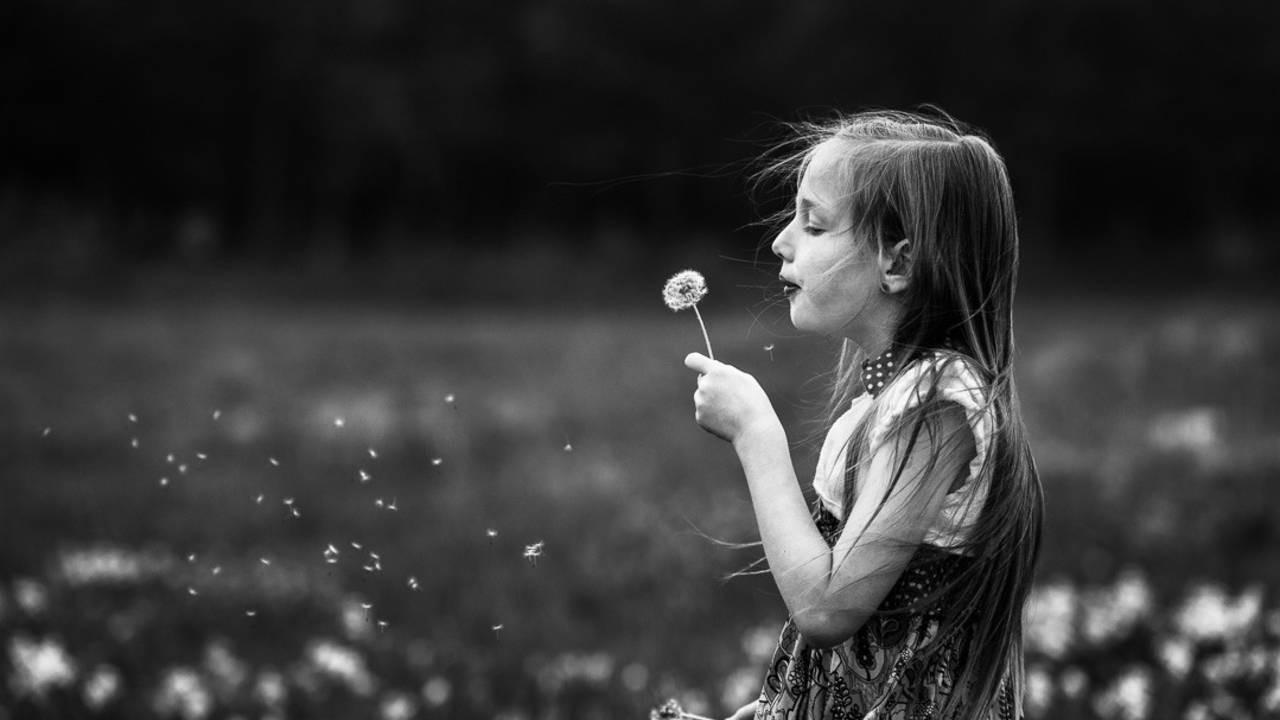
Secrets for Powerful Black and White Images: A Black and White Photography Series, Part 1 of 3
Nov 05, 2019There’s something timeless and captivating about a black and white image. With the absence of colour, a viewer is forced to pay attention to certain aspects within a frame. Creating a strong black and white image is much more than a simple post-processing conversion. There are many ways in which a photographer can create a strong black and white image. In this three-part series, I will be sharing with you my secrets for creating powerful black and white imagery.
1. Be aware of how colours convert
Not all images are meant to be black and white, and a photographer must always ask herself if an image is stronger in black and white. A photographer should learn to see a scene in black and white. This is super tricky, though, because humans see the world in a range of colours.
Colour in a black and white conversion is represented along a greyscale. Each colour is assigned a tone of grey from pure black through full white. A scene with a wide range of colours is likely to convert better into a black and white image compared to one that does not have a broad colour range.
For example, the image below consists of many similar darker colour tones. In the colour version, you can see dark browns, navy and grey colours. In the black and white image, the subject’s skin-pops, but the rest of the image blends with minimal contrast due to the similar colour tones. This image is better suited to a colour edit.


ISO 200, 200mm, f2.8, 1/1250SS
Furthermore, when choosing to convert an image into black and white, a photographer should familiarize herself with what colours convert well alongside each other. For example, when I know I want to convert an image to black and white, and I am photographing my subject against a dark green backdrop, I will want my subject to be wearing lighter clothing. This will result in a separation between my subject and the darker background, as the dark green backdrop will be assigned a dark greyscale tone, and the clothing of my subject will be assigned a lighter greyscale tone.
For example, in the image below, my subject has light colour tones in her clothing. Her skin and clothing pop against the dark green backdrop making this image a good choice for a black and white conversion.

ISO 400, 135mm, f3.2, 1/640SS
Finally, learn about which colours look good in a conversion. The best way you can learn this is to go through your image catalogue and one-click the image over into a black and white. I think you’ll find that some colours convert cleanly and boldly while others convert with muddy grey tones. For example, fuchsia pink and aqua blue are some of my least favourite colours in a black and white conversion while bright yellow, pale blue, and green typically convert quite well.
For example, I like the pop of aqua in the colour version of the portrait below, but in the black and white version, the aqua has little contrast and pop and appears muddier.


ISO 800, 116mm, f3.2, 1/1250SS
2. Shape
Colour is a high attract to an image. Without colour, a viewer must be drawn into an image by something. Shape can be used in black and white photography as an element in which to draw a viewer in and hold attention. People connect with various shapes, even at a glance. In black and white photography, it’s essential to be aware that shapes are strongly represented due to the absence of colour.
As an example, the image below has blurred artistic components. Yet, the eyes in the image will catch a viewer’s attention because they are familiar and recognizable shapes amongst all that blur.

ISO 250, 50mm, Freeslensed, 1/250SS
3. Incorporate strong compositional elements
A strong composition is essential in any photograph but even more so in a black and white image. We, humans, want to make sense of the world around us. Images without colour do not make sense because they are not typical. Black and white photos with compositional elements such as repetition, patterns, and lines will make your conversion more powerful and attractive to a viewer.

ISO 400, 50mm, f3.5, 1/500SS
Next time you are thinking about creating a black and white image, remember the importance of the above three elements. There’s a lot to digest in the above information, so I’ll leave the rest of my tips in the weeks to come. Look for Part 2 in this Black and White Photography Series next week!


